Hey Beautiful! This site is reader-supported and we earn commissions if you purchase products from retailers after clicking on a link from our site.
That persistent itch. The embarrassing white flakes. The constant discomfort. If you’re battling with a dry scalp, you’re not alone. Commercial treatments do line store shelves, but creating your own natural remedy puts you in control of what goes on your scalp while potentially saving both money and the environment. Let’s walk through understanding dry scalp, crafting an effective DIY treatment, and maintaining optimal scalp health – naturally.
Understanding Your Dry Scalp
Before diving into solutions, let’s first understand why your scalp becomes dry in the first place.
Your scalp, like the rest of your skin, contains sebaceous glands that produce natural oils (sebum) to keep the skin moisturized and protected. When this delicate balance is disrupted, dryness occurs.
Common triggers include:
- Environmental factors (low humidity, harsh weather conditions)
- Excessive washing or harsh shampoos that strip natural oils
- Dehydration and poor nutrition
- Hormonal changes
- Certain medications
- Aging
- Underlying skin conditions like seborrheic dermatitis or psoriasis
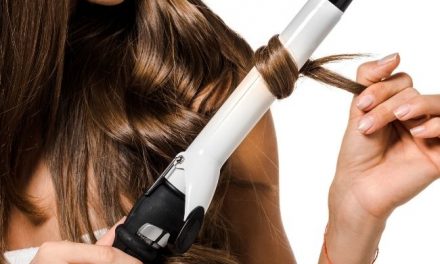
- Heat styling tools and chemical treatments
- Hard water with high mineral content

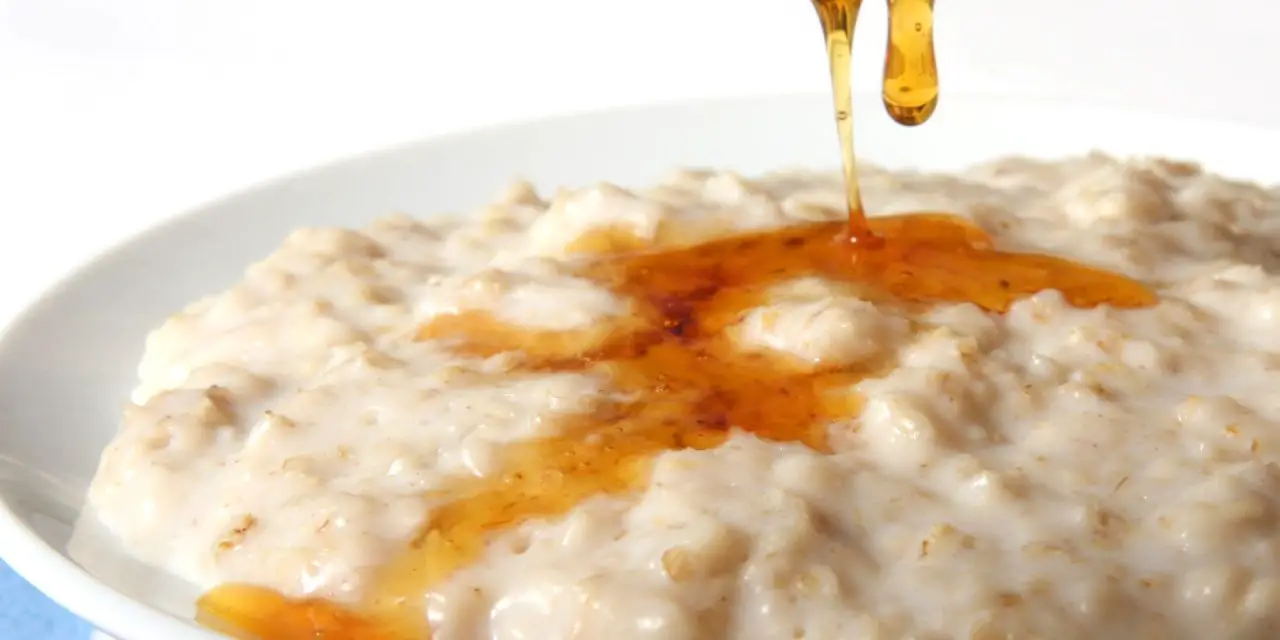
- Nates 100% Pure, Raw & Unfiltered Honey is a sweetener as nature intended, with one ingredient: Honey. All we add is the bottle.
Prices pulled from the Amazon Product Advertising API on:
Product prices and availability are accurate as of the date/time indicated and are subject to change. Any price and availability information displayed on [relevant Amazon Site(s), as applicable] at the time of purchase will apply to the purchase of this product.
DIY Rose and Honey Scalp Treatment
This unique DIY treatment combines traditional ingredients with unexpected elements to create a powerful solution for dry scalp. What sets this recipe apart is the inclusion of rose water, which not only adds a luxurious touch but also provides additional benefits through its natural pH-balancing and anti-inflammatory properties.
Ingredients
- 4 tablespoons organic raw honey
- 2 tablespoons rose water
- 1 tablespoon aloe vera gel (fresh or pure store-bought)
- 2 tablespoons coconut oil
- 5 drops lavender essential oil
- 3 drops rosemary essential oil
- 1 teaspoon colloidal oatmeal (finely ground regular oats work too)
- 1/4 teaspoon dried calendula petals (ground into powder)
Why These Ingredients Matter
- Honey: A natural humectant that draws moisture into the skin while providing antimicrobial properties
- Rose water: Balances scalp pH, reduces inflammation, and adds a therapeutic aroma
- Aloe vera: Soothes irritation and provides deep moisturization
- Coconut oil: Penetrates the scalp deeply while offering antimicrobial benefits
- Lavender oil: Calms irritation and promotes healthy oil production
- Rosemary oil: Stimulates blood circulation and strengthens hair follicles
- Colloidal oatmeal: Forms a protective barrier while gently exfoliating
- Calendula: Offers healing properties and reduces inflammation
Preparation
- In a small glass bowl, combine honey and rose water, stirring until well blended
- Warm coconut oil slightly until just melted
- Add aloe vera gel to the honey mixture and stir thoroughly
- Pour in the melted coconut oil while continuously stirring
- Add essential oils
- Fold in the colloidal oatmeal and ground calendula
- Mix until you achieve a smooth, uniform consistency
Application
- Start with dry or slightly damp hair
- Part hair into sections
- Apply mixture directly to scalp using fingertips or a color application brush
- Massage gently for 3-5 minutes to stimulate circulation
- Leave on for 30-45 minutes
- Rinse thoroughly with lukewarm water
- Follow with a gentle shampoo if needed

- Usda Certified Organic Premium Quality Floral Water: our organic rose waters are usda organic certified by onecert, aiming to ensure a high-quality product.
Prices pulled from the Amazon Product Advertising API on:
Product prices and availability are accurate as of the date/time indicated and are subject to change. Any price and availability information displayed on [relevant Amazon Site(s), as applicable] at the time of purchase will apply to the purchase of this product.
Storage and Shelf Life
The DIY treatment can be stored in an airtight glass container in a cool, dark place for up to 2 weeks.
For best results:
- Make small batches
- Use clean utensils
- Keep away from direct sunlight
- Refrigerate if room temperature exceeds 75°F (24°C)
- Watch for any changes in color, smell, or consistency
Customization Potential
The base recipe can be modified in numerous ways to suit your specific needs:
For Extra Moisturizing
- Add 1 teaspoon of jojoba oil
- Increase honey content
- Include 1 teaspoon of glycerin
For Added Soothing
- Double the aloe vera content
- Add 2 drops of chamomile essential oil
- Include 1 teaspoon of cucumber juice
For Enhanced Circulation
- Add 2 drops of peppermint essential oil
- Include 1/4 teaspoon cayenne powder
- Increase rosemary essential oil to 5 drops
For Extra Clarifying
- Add 1 tablespoon apple cider vinegar
- Include 1 teaspoon neem powder
- Add 2 drops tea tree essential oil
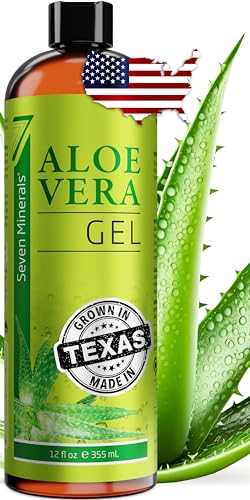
- Highest Quality - to ensure freshness our Aloe is proudly grown here in Southern Texas. NSF Organic & IASC Certified.
Prices pulled from the Amazon Product Advertising API on:
Product prices and availability are accurate as of the date/time indicated and are subject to change. Any price and availability information displayed on [relevant Amazon Site(s), as applicable] at the time of purchase will apply to the purchase of this product.
Holistic Scalp Care
Daily Practices for Scalp Health
- Proper Hydration
- Drink adequate water throughout the day
- Use a humidifier in dry environments
- Avoid extremely hot showers
- Dietary Considerations
- Increase omega-3 fatty acids through fish or supplements
- Consume zinc-rich foods like pumpkin seeds and nuts
- Include biotin-rich foods such as eggs and sweet potatoes
- Ensure adequate vitamin D intake
- Scalp Massage
- Perform daily 5-minute scalp massages
- Use wooden massage tools or silicone scalp brushes
- Practice during hair washing or with dry hair
- Protective Measures
- Use a silk or satin pillowcase
- Protect scalp from harsh sun exposure
- Limit heat styling
- Consider water filtration for shower heads
Additional Natural Remedies
Quick Relief Solutions
- Apple Cider Vinegar Rinse
- Mix 1 part ACV with 4 parts water
- Apply after shampooing
- Rinse thoroughly
- Coconut Oil Deep Treatment
- Warm pure coconut oil
- Apply directly to scalp
- Leave overnight
- Shampoo thoroughly in morning
- Green Tea Compress
- Brew strong green tea
- Allow to cool
- Apply with cotton balls
- Leave for 30 minutes
Maintaining Results
Consistency is very important when treating dry scalp naturally.
Here’s a treatment schedule I suggest:
- Full treatment: Once per week
- Quick treatments: 2-3 times per week as needed
- Daily scalp massage: 5 minutes
- Deep conditioning: Every 2 weeks
- Protective measures: Daily
Signs It’s Working
- Reduced flaking
- Less itching
- Improved hair texture
- More balanced oil production
- Healthier looking scalp
- Reduced redness or irritation
When to Seek Professional Help
While natural treatments are effective for many people, consult a dermatologist if you experience:
- Persistent redness or inflammation
- Bleeding or severe scaling
- Hair loss
- Infection symptoms
- No improvement after 8 weeks of consistent treatment

- Pure and Natural Ingredients: Made from high-quality, 100% natural colloidal oatmeal. Free from additives, fragrances, and artificial preservatives.
Prices pulled from the Amazon Product Advertising API on:
Product prices and availability are accurate as of the date/time indicated and are subject to change. Any price and availability information displayed on [relevant Amazon Site(s), as applicable] at the time of purchase will apply to the purchase of this product.
Transform Your Dry Scalp
The journey to a healthier scalp doesn’t require expensive products or harsh chemicals. Through natural remedies and mindful care, you can transform your scalp health while honoring both your body and the environment. This DIY approach puts you in control – enabling you to adjust, experiment, and find what truly works for your unique needs.
The path to healing may take time, but the rewards extend beyond just relieving dryness. You’ll gain a deeper understanding of your body’s signals, develop sustainable self-care practices, and potentially discover a new appreciation for the power of natural ingredients. As you incorporate these treatments into your routine, remember that each application is an investment in your long-term scalp and hair health.
Your scalp will benefit from gentle, nourishing care, while your actions contribute to reducing chemical waste and plastic packaging in our environment. Take this knowledge, make it your own, and trust in the healing power of nature combined with consistent care.
FAQs
While both conditions can cause flaking, they have distinct characteristics. Dry scalp flakes tend to be smaller, whiter, and drier, while dandruff flakes are larger, yellowish, and oilier. Dry scalp usually feels tight and itchy, whereas dandruff often comes with redness and a more intense itch. If you’re unsure, examining the flakes and your scalp’s overall condition can help determine which condition you’re dealing with.
Yes, this treatment is generally safe for color-treated hair. The natural ingredients won’t strip hair color, and many components like honey and aloe vera can actually help seal in color while moisturizing. However, if your hair was colored recently (within the last two weeks), wait before using any treatment to allow the color to fully set.
The ideal washing frequency varies by individual, but with a dry scalp, less is often more. Start with washing every other day or every two days using lukewarm water. Adjust based on your scalp’s response – if it feels excessively dry, reduce frequency; if it becomes itchy or accumulates buildup, wash more frequently. The key is finding your personal balance.
Rose water offers unique benefits that plain water doesn’t provide. It naturally balances pH levels, contains antioxidants that protect scalp cells, and provides mild astringent properties that help regulate oil production. Additionally, its anti-inflammatory properties can help soothe irritated scalps while adding a pleasant, natural fragrance.
While it’s possible to make larger batches, fresh preparations are always best due to the natural ingredients used. If you do make extra, store it in an airtight glass container in the refrigerator and use within two weeks. Watch for any changes in color, smell, or consistency, which could indicate spoilage. For best results, make smaller batches more frequently.
Always perform a patch test before applying any new treatment to your scalp. If you’re allergic to any ingredients, there are multiple substitutions available:
For honey: Use pure aloe vera gel or glycerin
For coconut oil: Try jojoba oil or argan oil
For rose water: Use witch hazel or plain distilled water
For essential oils: Omit entirely or substitute with a different oil suitable for your skin
When used as directed, the treatment shouldn’t leave your hair greasy. However, if you find it too heavy, try these adjustments:
Reduce the amount of coconut oil
Focus application on the scalp rather than the hair
Ensure thorough rinsing
Use less product overall
Apply to roots only and avoid mid-lengths and ends
Most people notice immediate improvement in terms of scalp comfort and reduced itching. However, for lasting results, expect to use the treatment consistently for 4-6 weeks. Remember that scalp cell turnover takes about a month, so giving the treatment time to work is essential.
Consult with a healthcare provider before using any treatment if you have a diagnosed scalp condition. The treatment may help with symptoms, but underlying conditions often require medical management in conjunction with natural remedies.
When you have 30-45 minutes to let it sit, typically before your regular shower time. Many find weekend mornings ideal, as they can combine the treatment with a relaxing self-care routine. Avoid applying it right before going out or sleeping, as it needs to be washed out properly.