Hey Beautiful! This site is reader-supported and we earn commissions if you purchase products from retailers after clicking on a link from our site.
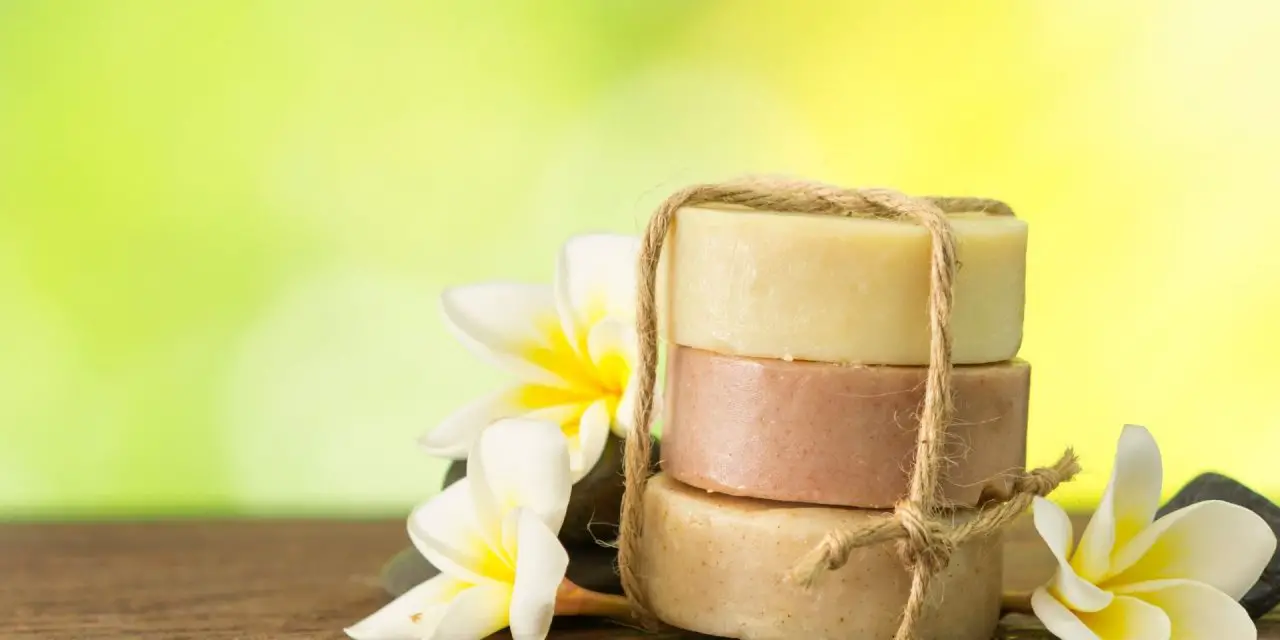
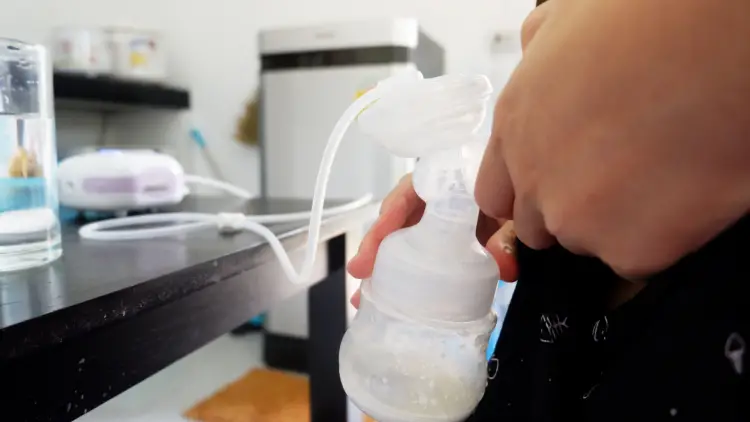
Have some leftover breast milk sitting in the freezer and wondering what you can do with it? You can certainly get creative with your breast milk and make ice cream, butter, or dozens of other crafts that you can find on Pinterest. But there is a much more beneficial way to use your breast milk—one that could help with dry skin or infant eczema. That’s right, we’re talking about breast milk soap.
We have everything you need to successfully whip up a batch of breast milk soap, including a few DIY breast milk soap recipes.
Why Make Breast Milk Soap?
Who would have thought that breast milk is good for something other than your baby? Making soap out of it means that everyone in the family benefits. Breast milk is very skin-friendly, which might come as a surprise to some people—but it’s true. In other words, if you have sensitive skin, you’re going to love breast milk soap.
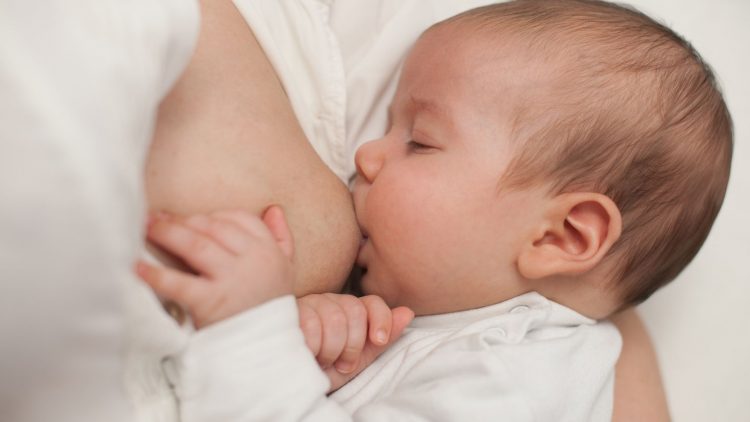
Interestingly, breast milk has a long history of topical medications for things like sore nipples from breastfeeding, wart removal, healing injuries, moisturizing skin, and even relieving itchy bites and skin conditions, like eczema. Incidentally, there have been studies showing that breast milk works better than hydrocortisone cream for treating eczema in infants.
This is because of the natural compounds in breast milk that fight bacteria and inflammation. That is why you can use breast milk for treating rashes and acne.
Now, you might wonder: does any of these beneficial properties carry over after the soap has been made? After all, you have to transform the milk into lye to make soap, and that requires cooking the milk. Some of the enzymes that promote healing do get nuked (there’s no way to escape it), but that doesn’t mean the benefits vanish.
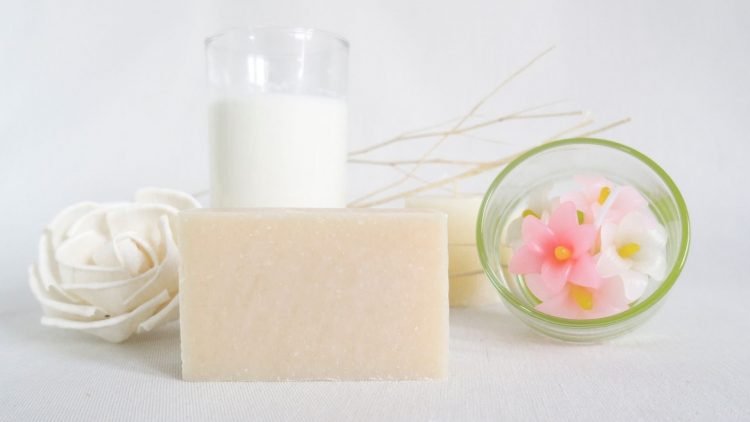
The creaminess of breast milk makes for more silkier suds that nourish the skin. Also, breast milk has more sugars than cow’s milk, so you get a better lather. Rich in vitamins, soap made from breast milk soothes and rejuvenates your skin. So you still get a lot of goodness from a single bar of soap.
Additionally, you’re selecting a recipe and making the soap by yourself. This is excellent for those who have family members with skin conditions, since you can select the ingredients that are best suited for your needs and health. You also know exactly what is going into the soap, meaning you’ll probably choose the most eco-friendly options.
Benefits of Breast Milk on the Skin
- Antimicrobial properties
- Rich in vitamins A, C, D, and E—all promote skin health
- Produces a rich, silky lather
- Enhances the effects of honey and olive oil
- Can relieve skin conditions that cause itching and dryness
Does Breast Milk Soap Smell Like Breast Milk?
You might be hesitating about making breast milk soap, because you dislike the smell of the main ingredient. Don’t worry. When you add other ingredients, such as essential oils or honey or oats, you are diminishing the scent. Breast milk soap won’t smell like breast milk at all.
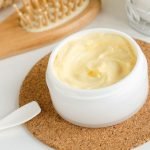
Homemade Breast Milk Soap Recipe To Try
Ready to make your own mothers milk soap? Here is a simple and easy-to-follow recipe!
Ingredients
- ½ pound soap base
- 1 cup breast milk
- A few drops of essential oil (if desired)
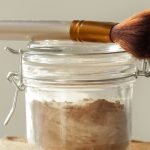
- Powdered pigments (optional)
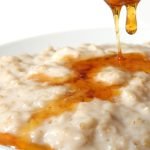
- A sprinkle of honey and oats (optional)
Directions
1. Melt the ½ pound of soap base (can be purchased from health food stores, craft stores or from Amazon) in the microwave on the highest temperature setting. Try to melt the soap base incrementally. You must check to make sure that it’s not getting overheated or bubbling up. Those bubbles won’t disappear.
2. Pour the room temperature breast milk into the melted soap base. Stir together until the milk and soap base are combined.
3. Stir in your optional essential oils for a pleasant scent. Add in the pigment for color or the honey and oats for added skin benefits and exfoliation.
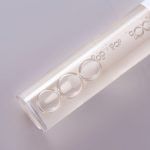
4. Pour the liquid into the silicone mold of your choice. Again, you can find hundreds of cute soap molds on Amazon or at your local craft store. You can also pour all the soap mixture into a clear jar or container to cut pieces later.
5. Place the mold or jar in the refrigerator for about 2 hours to allow for the mixture to harden into a soap bar. You should continue to let them cure for another week or so for a harder soap.
Want Another DIY Breast Milk Soap Recipe?
We’ve got you covered. This one takes the castile soap road and adds in breast milk to make a heavenly experience.
Ingredients
- 35 oz olive oil
- 4.5 oz sodium hydroxide lye
- 8 oz distilled water
- 5 oz breast milk
You will also need a silicone mold, stainless steel bowls, a stick blender, and a kitchen thermometer.
Directions
1. Measure out the olive oil into a stainless steel bowl. The bowl should be larger enough to accommodate other ingredients and the stick blender. If you don’t have a stick blender, you can use either a regular blender or a stainless steel whisk.
2. Heat the oil to 105 degrees F.
3. Measure the lye and distilled water. Put them into separate heat-proof stainless steel bowls. Add the lye to the water gradually. Never put water on lye. Stir the lye into the water until it has dissolved completely.
4. Because the reaction between distilled water and lye will cause the water to heat, wait until the water temperature has gone down to around 105 degrees F.
5. Pour the lye mixture into the olive oil. Whisk or blend lightly.
6. Pour in your breast milk to combine.
7. Gently pour the mixture into a silicone mold of your choosing.
8. To prevent soap ash from forming on the surface of the soap, you can lightly spray rubbing alcohol onto the surface a few times over a total of 90 minutes. The end result will look much better in the end.
9. Allow your soap to cure for about 2-5 days. Once that time is up, you can remove the soap from the mold and cut it into pieces. Afterwards, continue to let the soap cure for another 6 weeks before use. They may still be rather soft, so if you like a harder soap, continue to cure for 3 months.
Wrapping Up
Leftover or frozen mothers milk doesn’t have to go to waste after your child has moved on to solid foods. You can make breast milk soap quickly and easily, and you can use it for a spa-like experience in the bath at the end of the day. How fantastic does that sound? So go on, give making your own breast milk soap a try and let us know how it goes.
Frequently Asked Questions
Breast milk soap is good for many things, including soothing skin conditions and bug bites; moisturizing dry skin; and nourishing skin with vitamins A, C, D, and E. Since breast milk has more fat than both cow and goat milk, it also produces a much more luxurious lather.
No, selling your breast milk soap is not illegal. Nor is selling your actual breast milk. You can sell your breast milk soap online or in person. However, unlike actual breast milk, your bars won’t be accepted at a breast milk bank.
Breast milk soap will last for quite some time. Because the milk is changed into lye before setting in the soap mold, you don’t have to worry about the finished breast milk soap going bad 4 hours out of the refrigerator like normal breast milk. Most milk-based soaps have a shelf life of about 5-10 years. Make sure you wrap the bars in paper and place them somewhere dark and with adequate air circulation.
Yes, breast milk soap does go bad, as does any kind of soap. However, the actual time frame of how long it takes for a milk-based soap to perish is unknown. There are numerous determining factors, such as the other ingredients you used besides breast milk. The best way to determine if your soap has gone bad is to smell it and check if there is any discoloration or spotting.


Quite an unusual idea for me.
But possible!
Very interesting post! Thanks for sharing.
Thanks Abdel!